
3D models & assets
Bring anything you can model or scan.
MEs imports 3D models as patches — export them the way MEs likes, scan the real world with your phone, or start from the free pack.
Static models import today, as patches you place like anything else.
export it right
Models MEs likes
MEs accepts both GLB and FBX, but GLB is recommended — its shader settings are simpler.
Export from Blender when you can. Modelling, UV, and texturing in any tool is fine — but models exported from other DCC tools may display unexpected results, so use Blender for the export step.
Materials
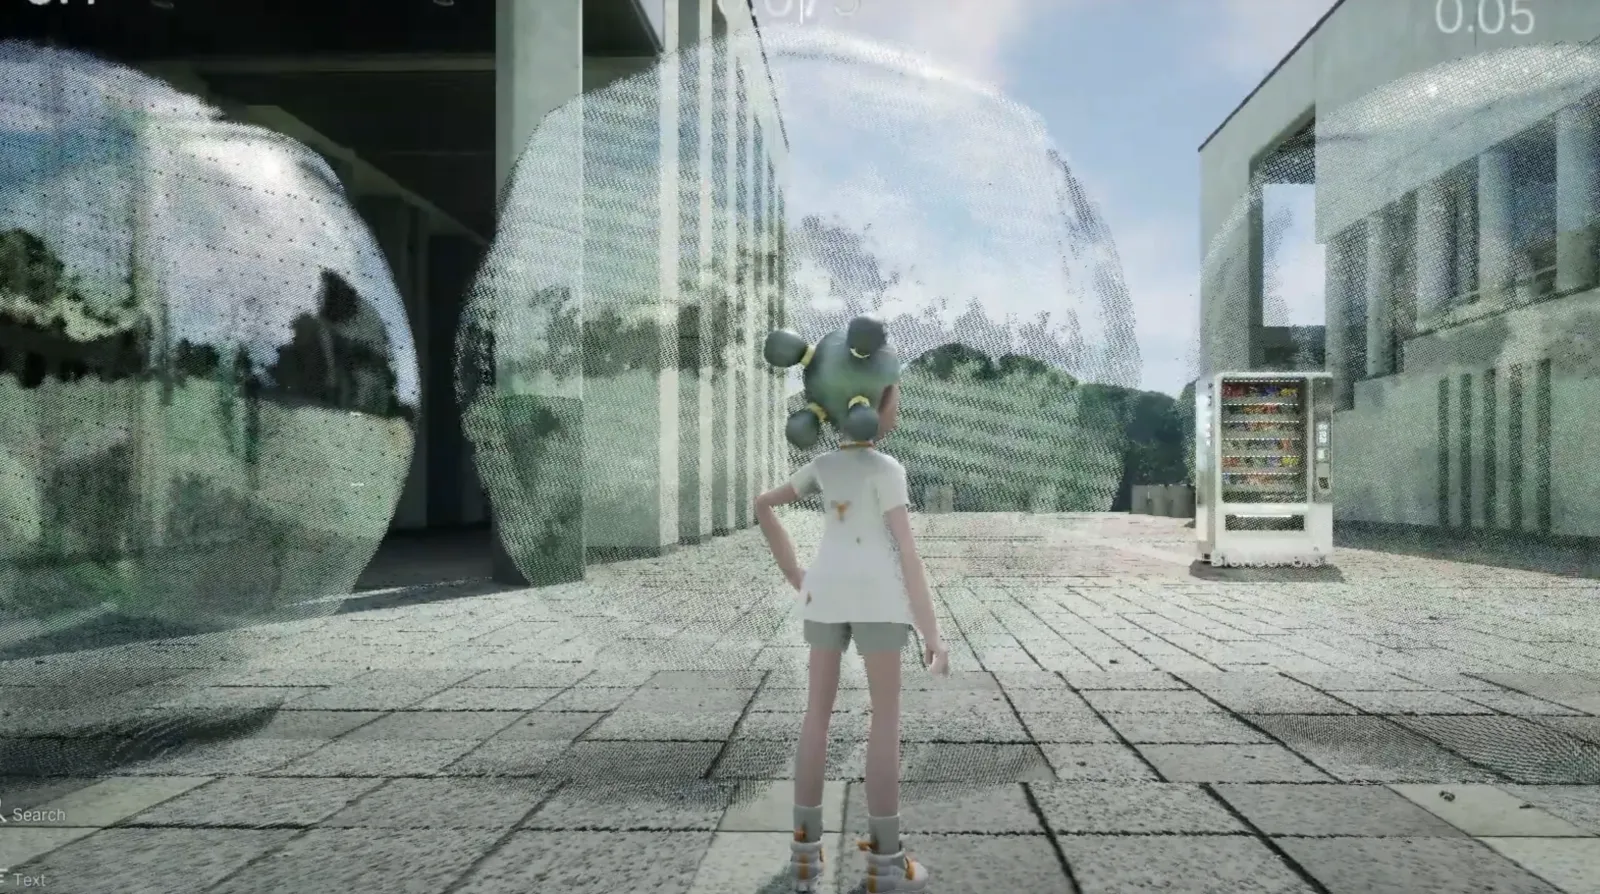
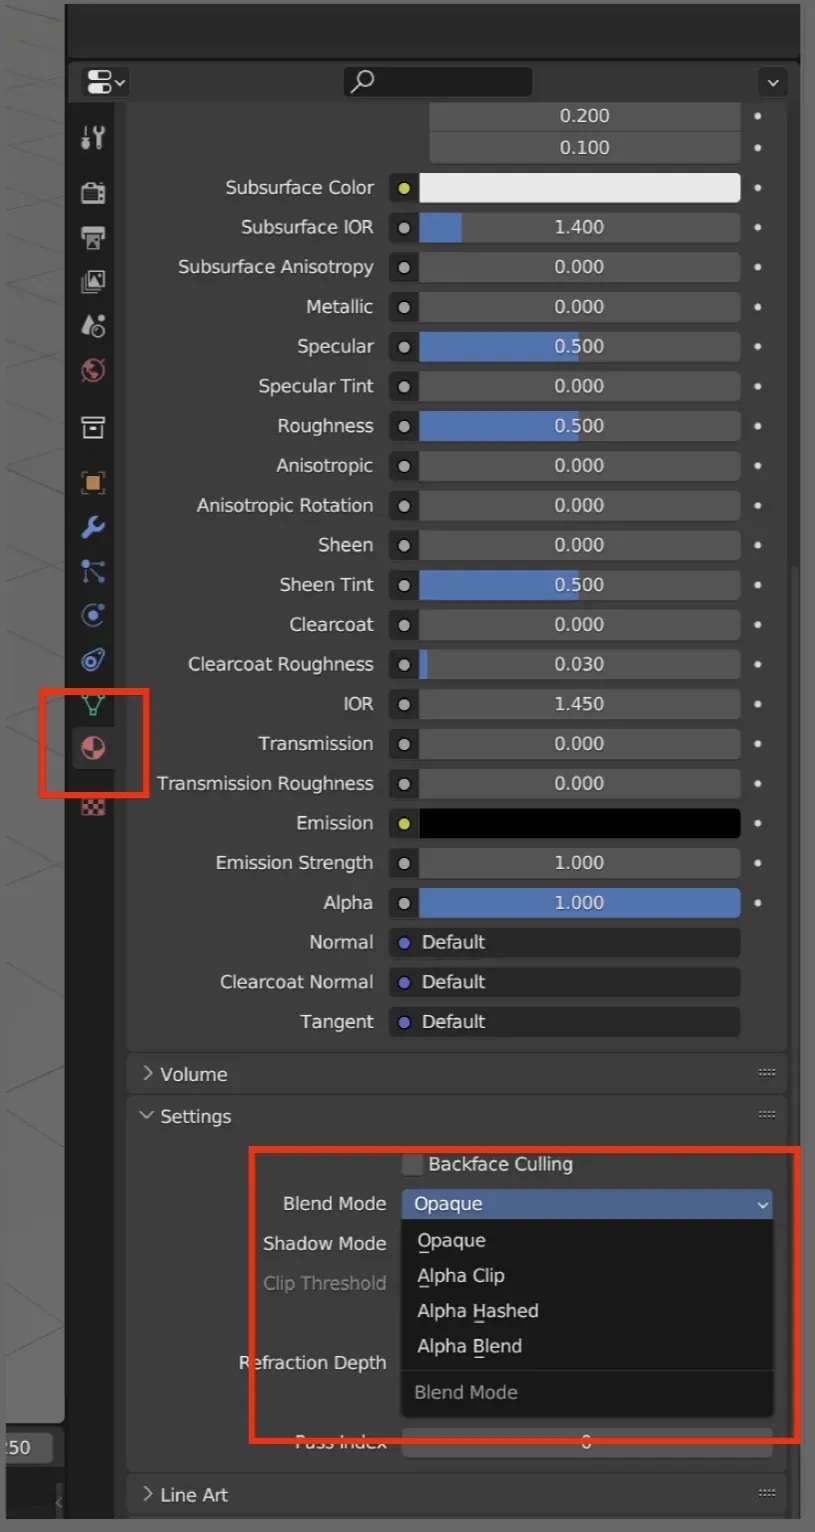
- Alpha & blend modes — FBX exports every blend mode as "Alpha Hashed," which can dither transparent materials (GLTF is fine). Set the right blend mode, and mark fully-opaque materials Opaque for performance.
- Material maps (ORM) — pack into one texture: R = Ambient Occlusion, G = Roughness, B = Metallic, A = Anisotropy. Not every channel is required.
- FBX maps — connect the map image texture's Color pin to the Specular pin as well (not needed for GLTF).
- Pure black — FBX can't output non-reflective black; set specular 0 + roughness 100 and export as GLTF.
- Power-of-two textures — 512×512, 1024×1024, etc., for optimization.
Modelling & orientation
- Apply all transforms before export, or the model may import wrong.
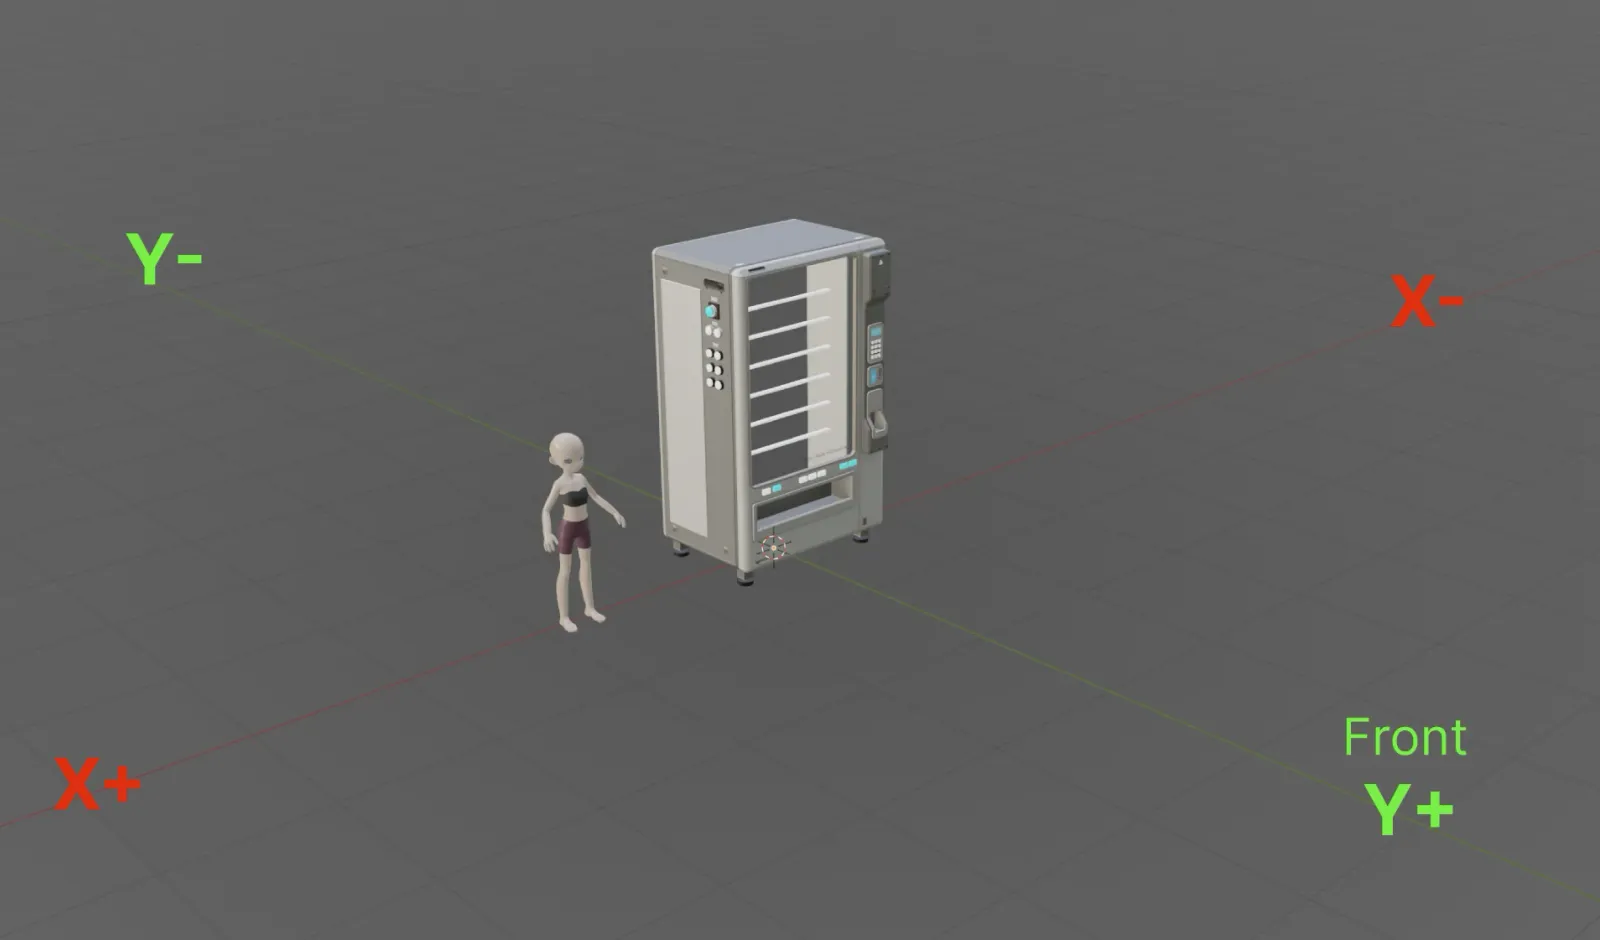
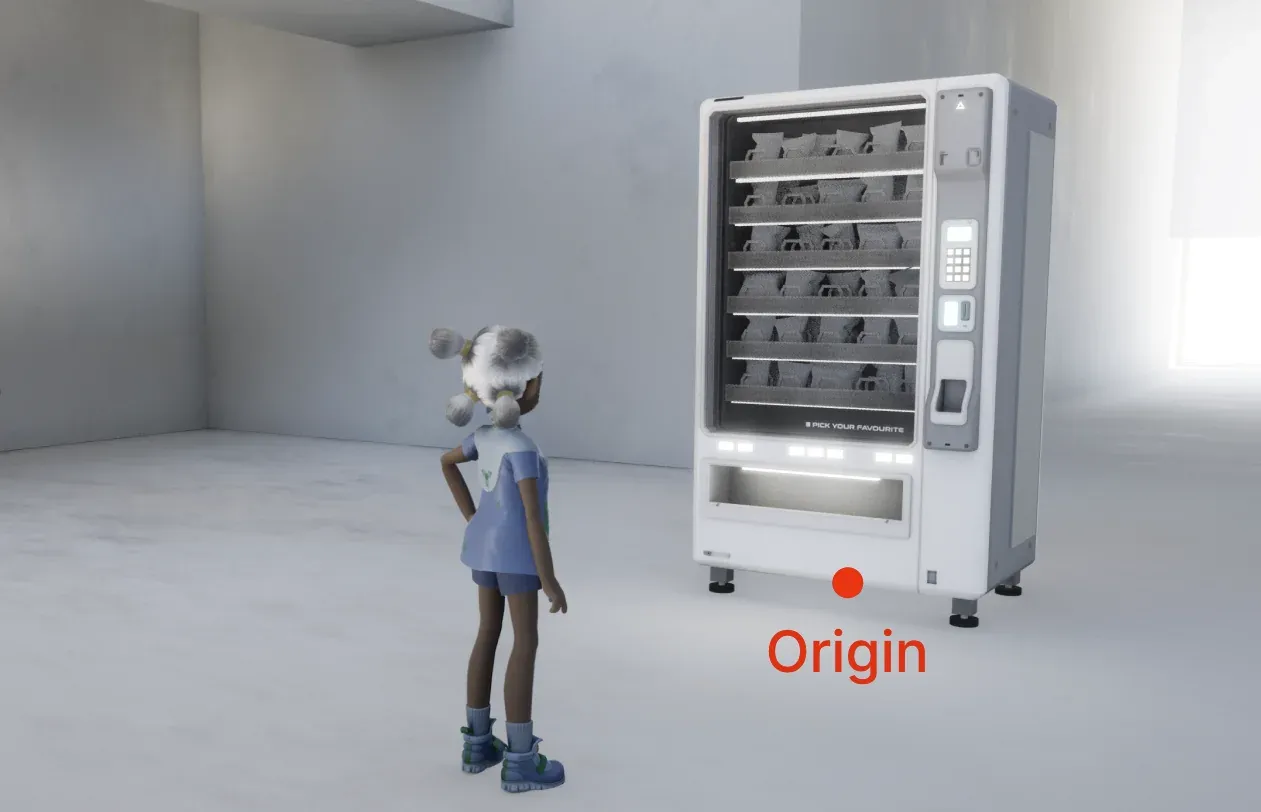
- Face positive-Y to import facing the camera. World (0,0,0) imports at the avatar's foot height.
- Compare scale against the MEs-chan mannequin reference model.
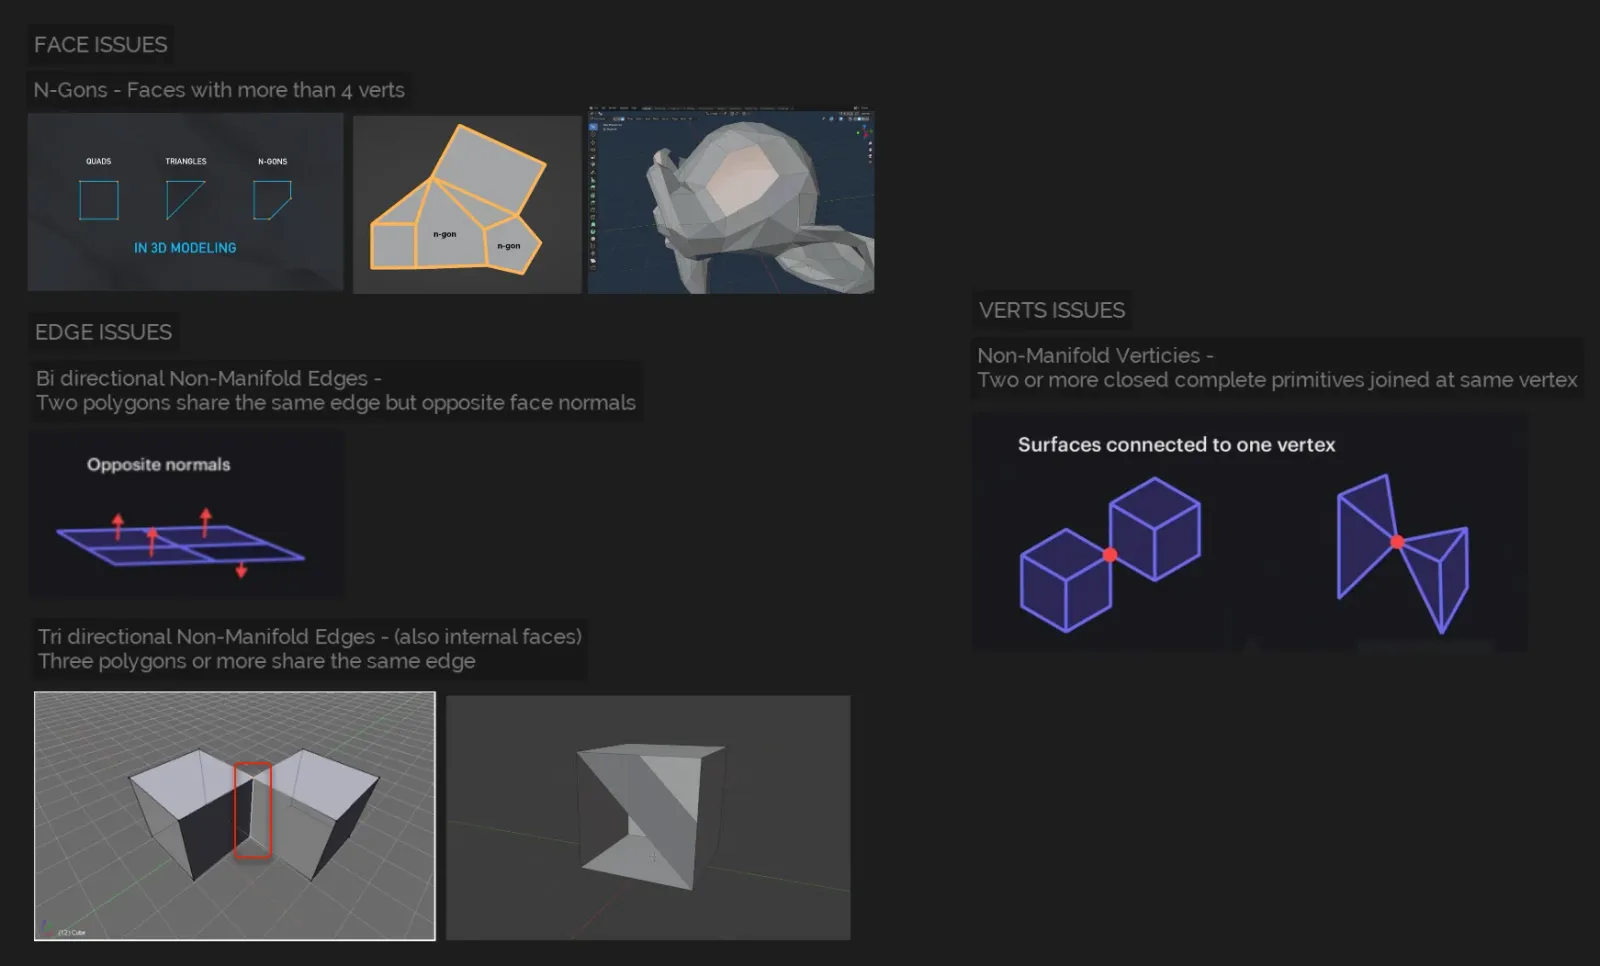
Import failing? Certain polygon conditions stop a model importing cleanly — check your mesh against the reference sheet below.
video lessons
The modelling tutorial series
Eight short video lessons cover preparing assets for MEs:
- Power-of-two pixel-size conformity (256 / 512 / 1024 / 2048).
- DirectX normal-map G-channel conformity (bumps in, dips out).
- Creating Basecolor+Alpha and ORM (AO / Roughness / Metallic) PNGs from loose textures.
- Texture resolution & file-size optimization in Photoshop.
- Textures & materials prep for GLTF in Blender.
- Textures & materials prep for FBX in Blender (watch GLTF first).
- Adding vertex color (and alpha) to a textured asset.
- Non-textured materials with vertex color and alpha for GLTF & FBX.
a head start
Free starter models
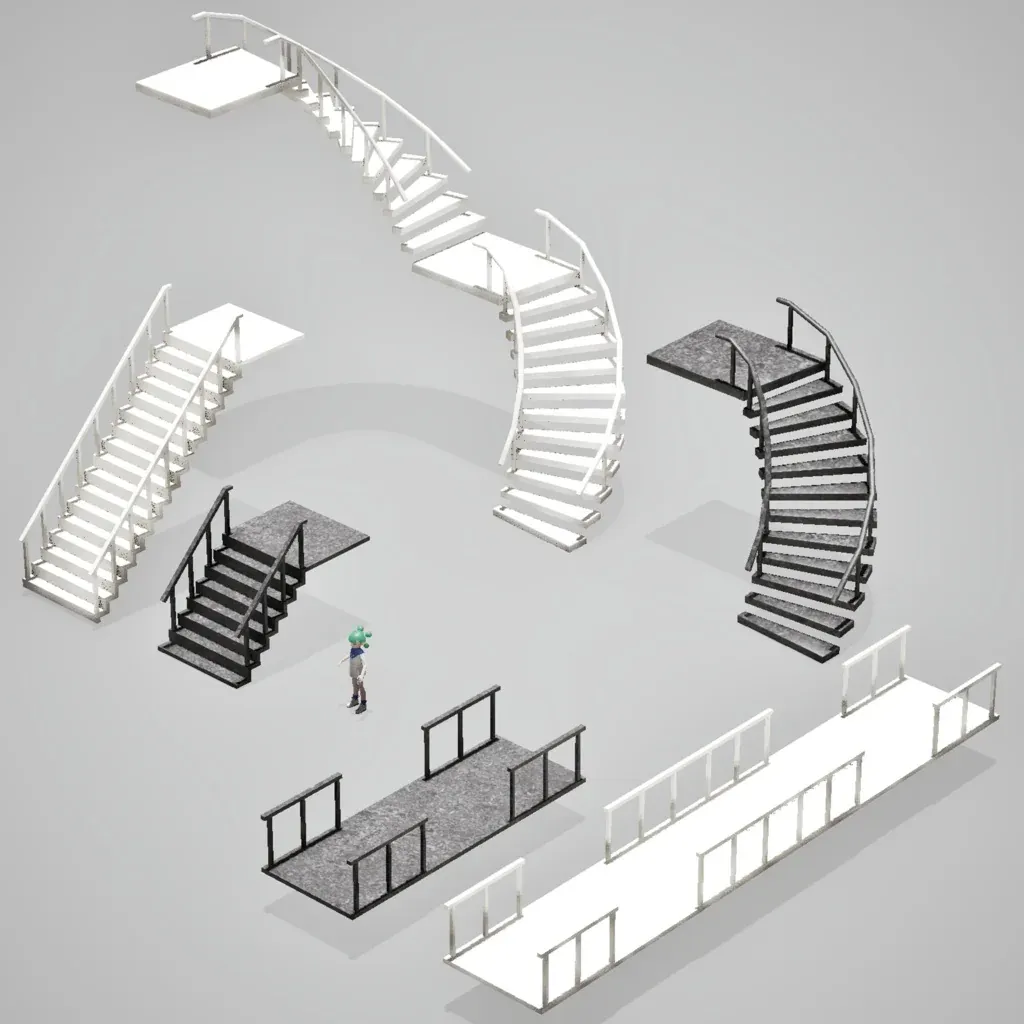
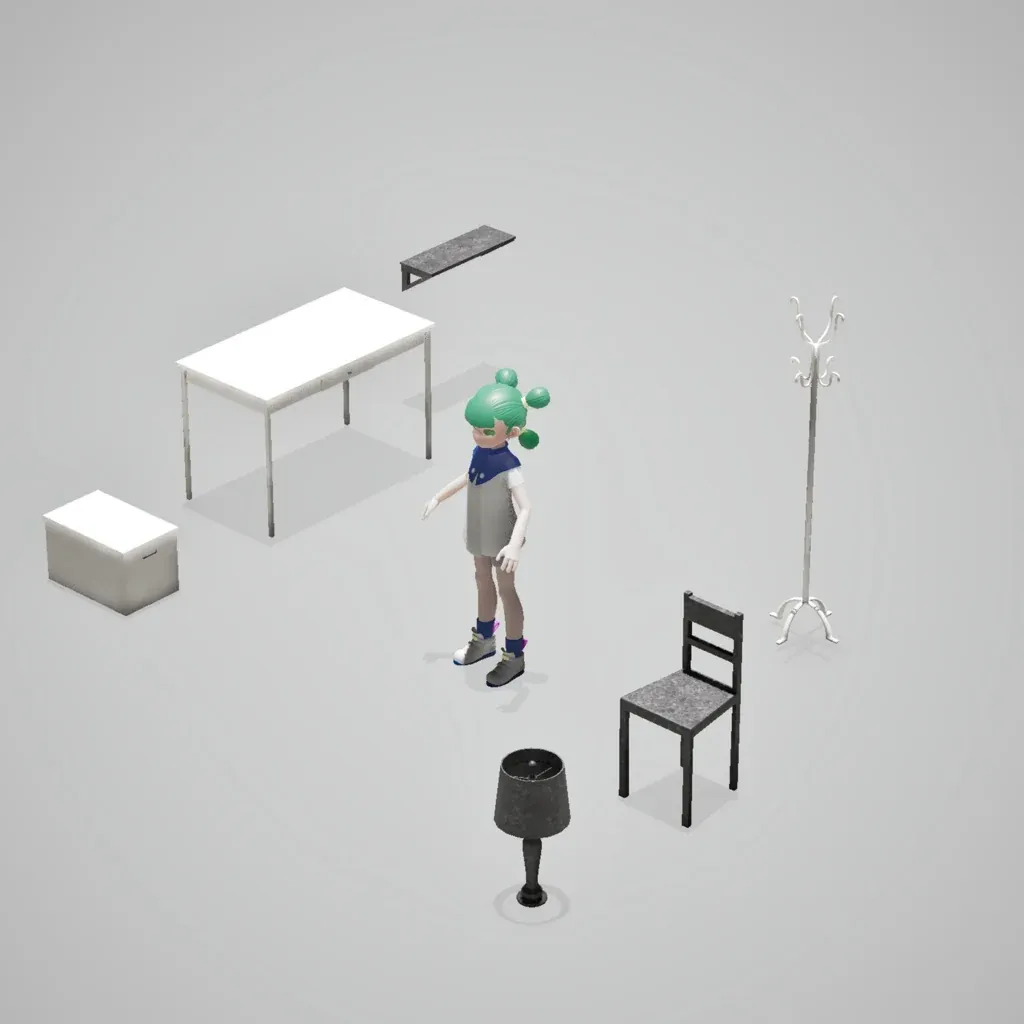
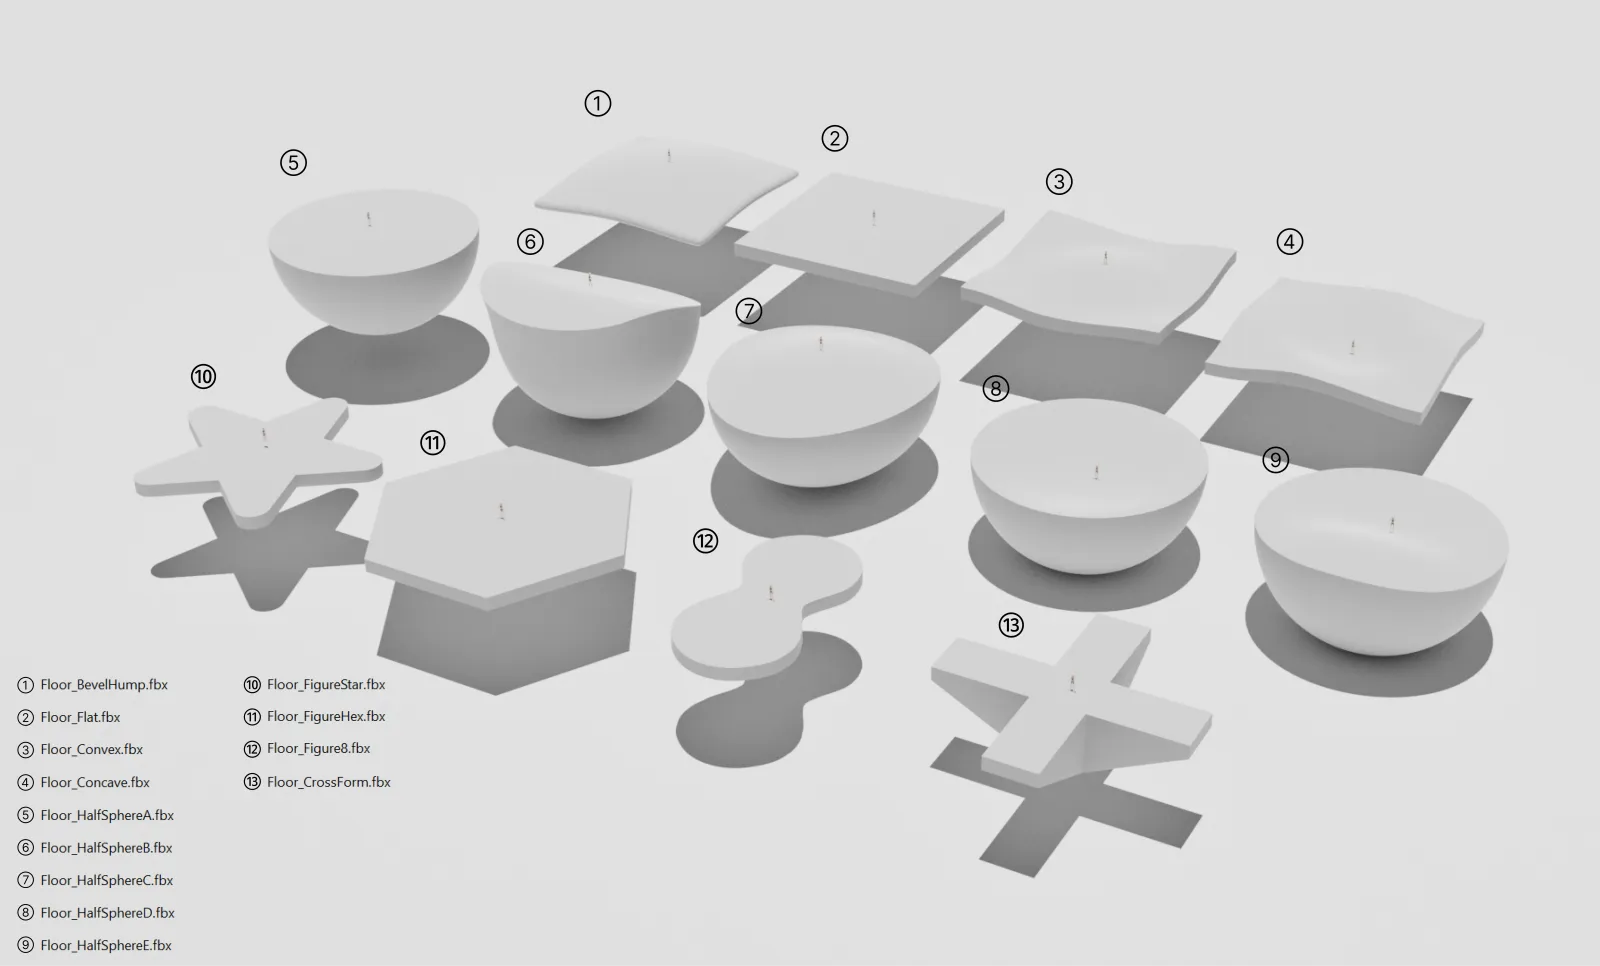
A free pack of models for setting up project rooms and exhibitions — use them freely, and modify as needed. MEsStarterPack_v2 ships in four parts; take what you need.
scan the real world
From your phone into MEs
Scan a real object with a phone app like Polycam, clean it in Blender, and bring it in as a GLB.
Scanning tips
- Even, soft light — a cloudy day is ideal; avoid direct sun and changing light.
- Move slow and steady — a circular pattern at a constant distance, covering every angle.
- Mind the surface — matte, textured objects scan best; shiny or transparent ones struggle.
- Multiple passes — re-scan missed areas instead of starting over; keep the object still.
- 1
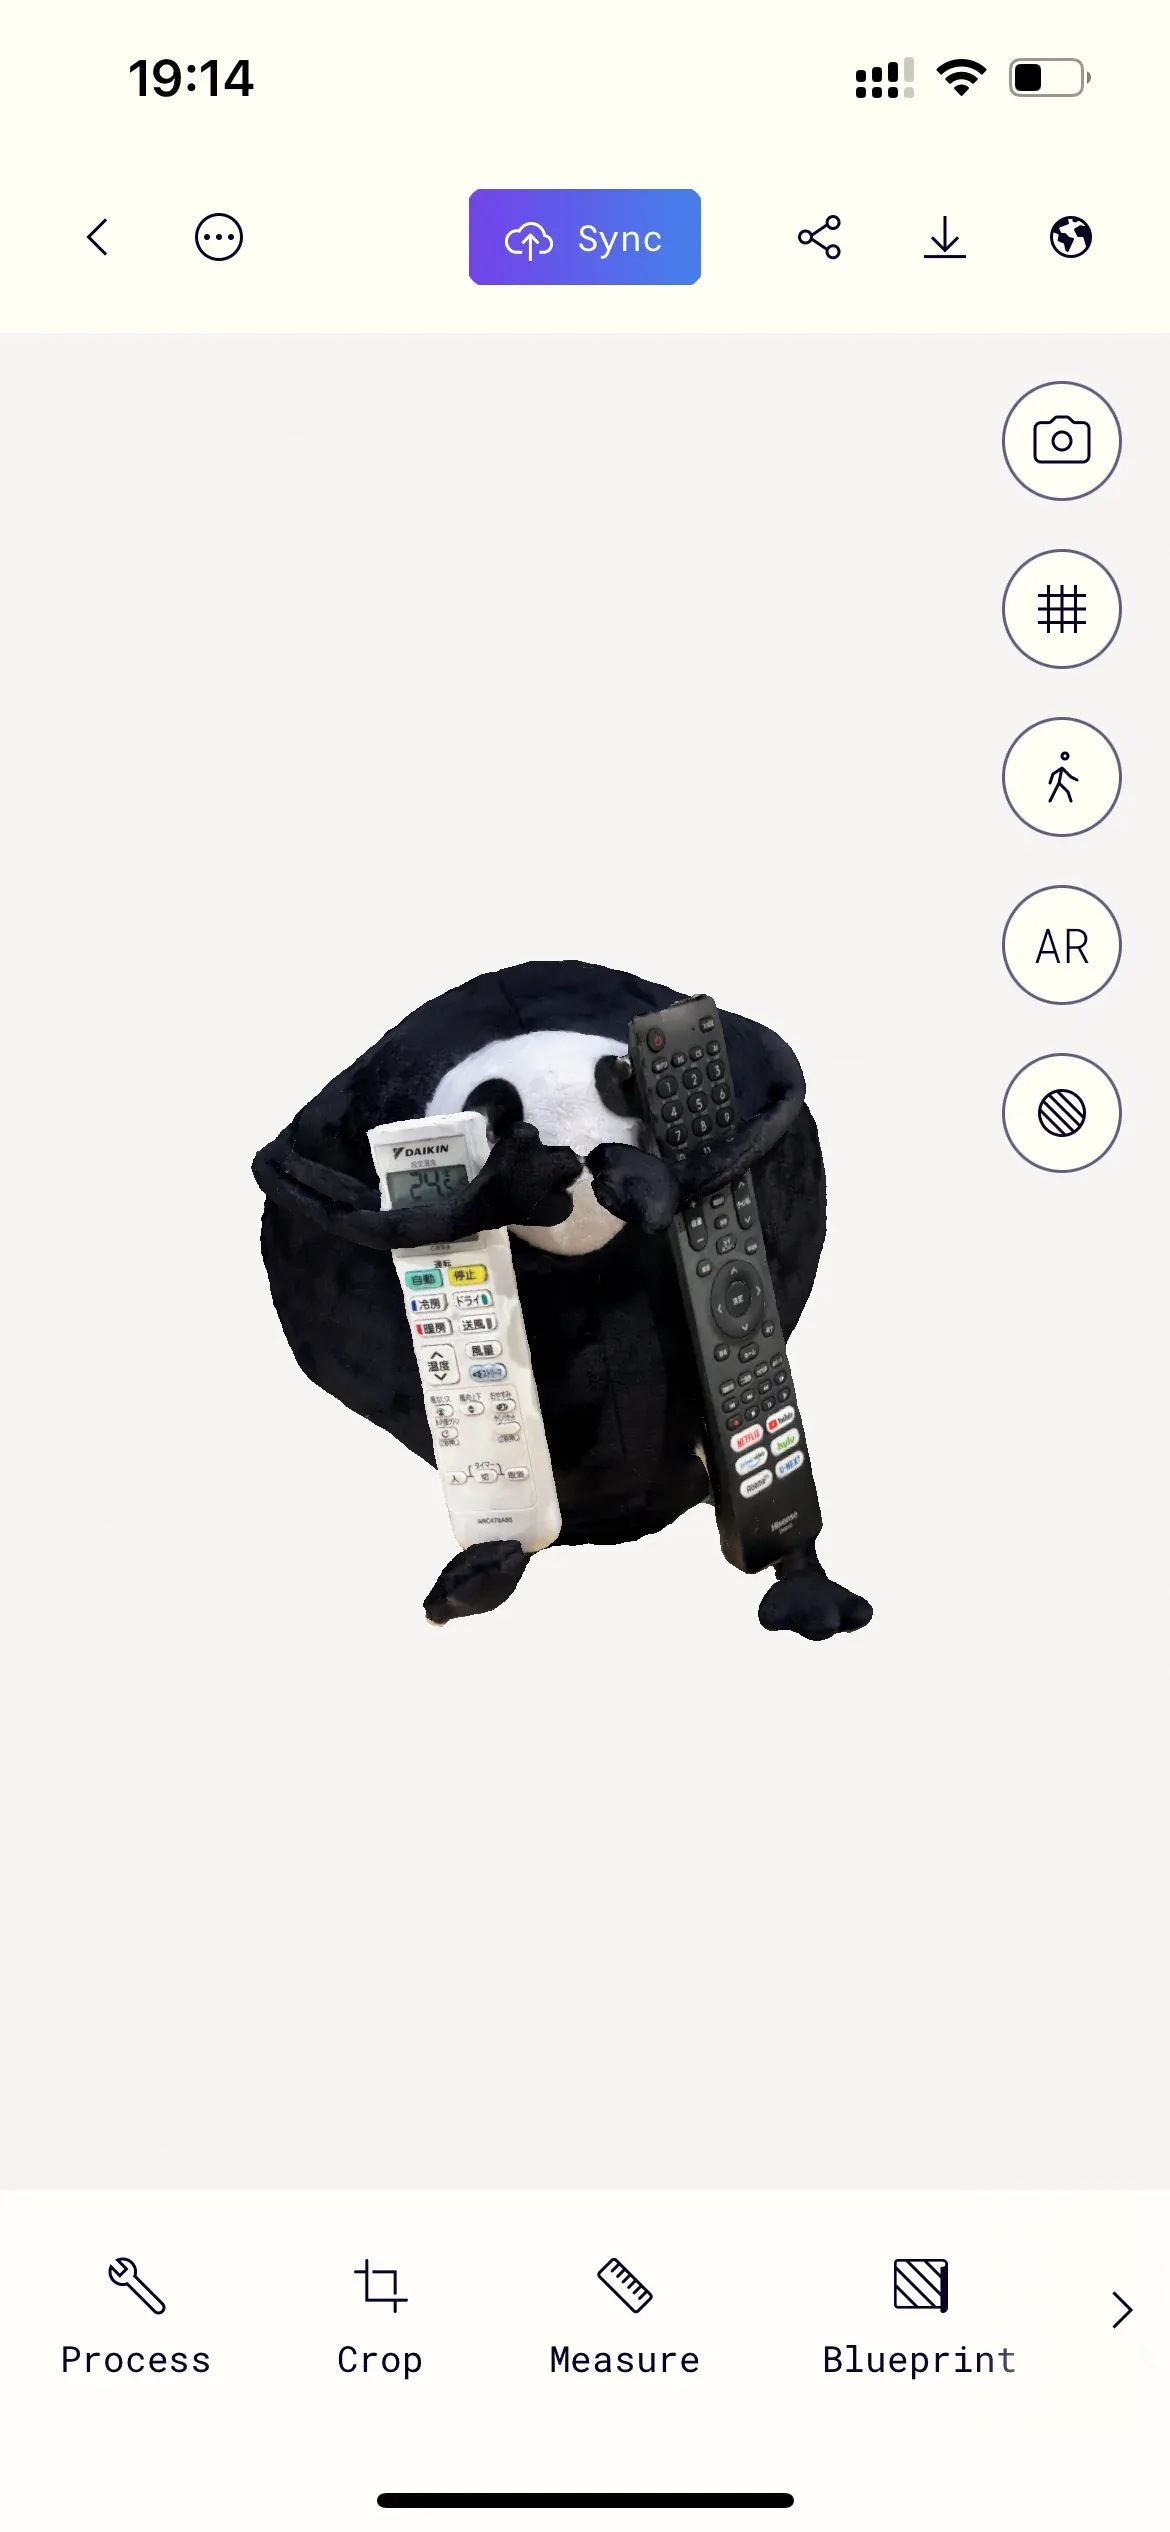
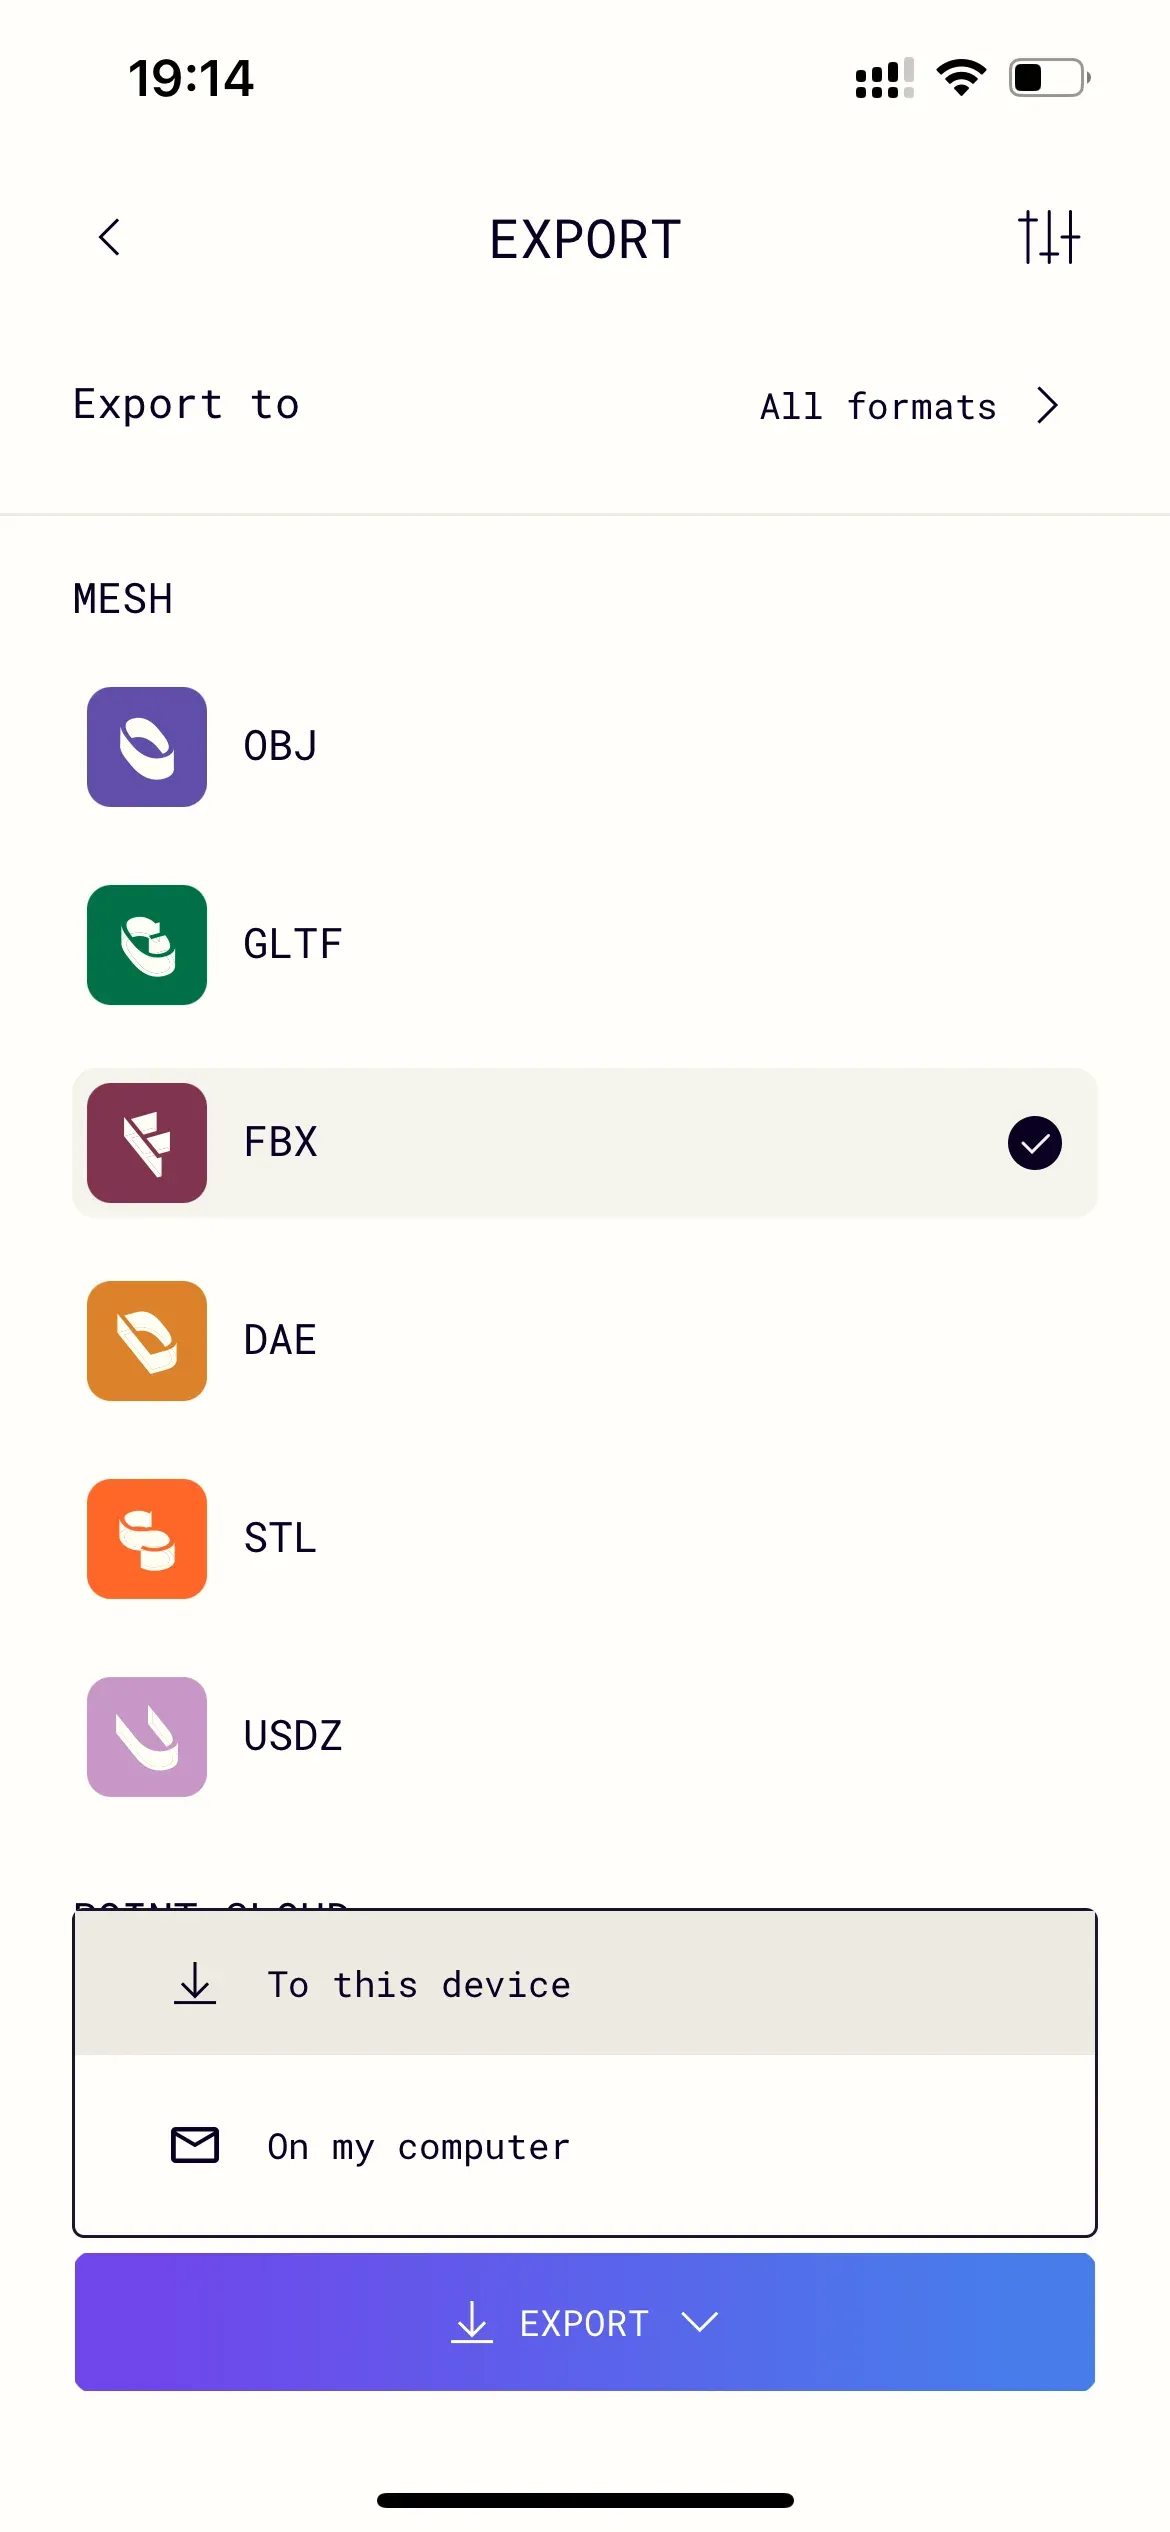
Export from Polycam
Open your scan, tap export, choose the export format, and save the file.
- 2
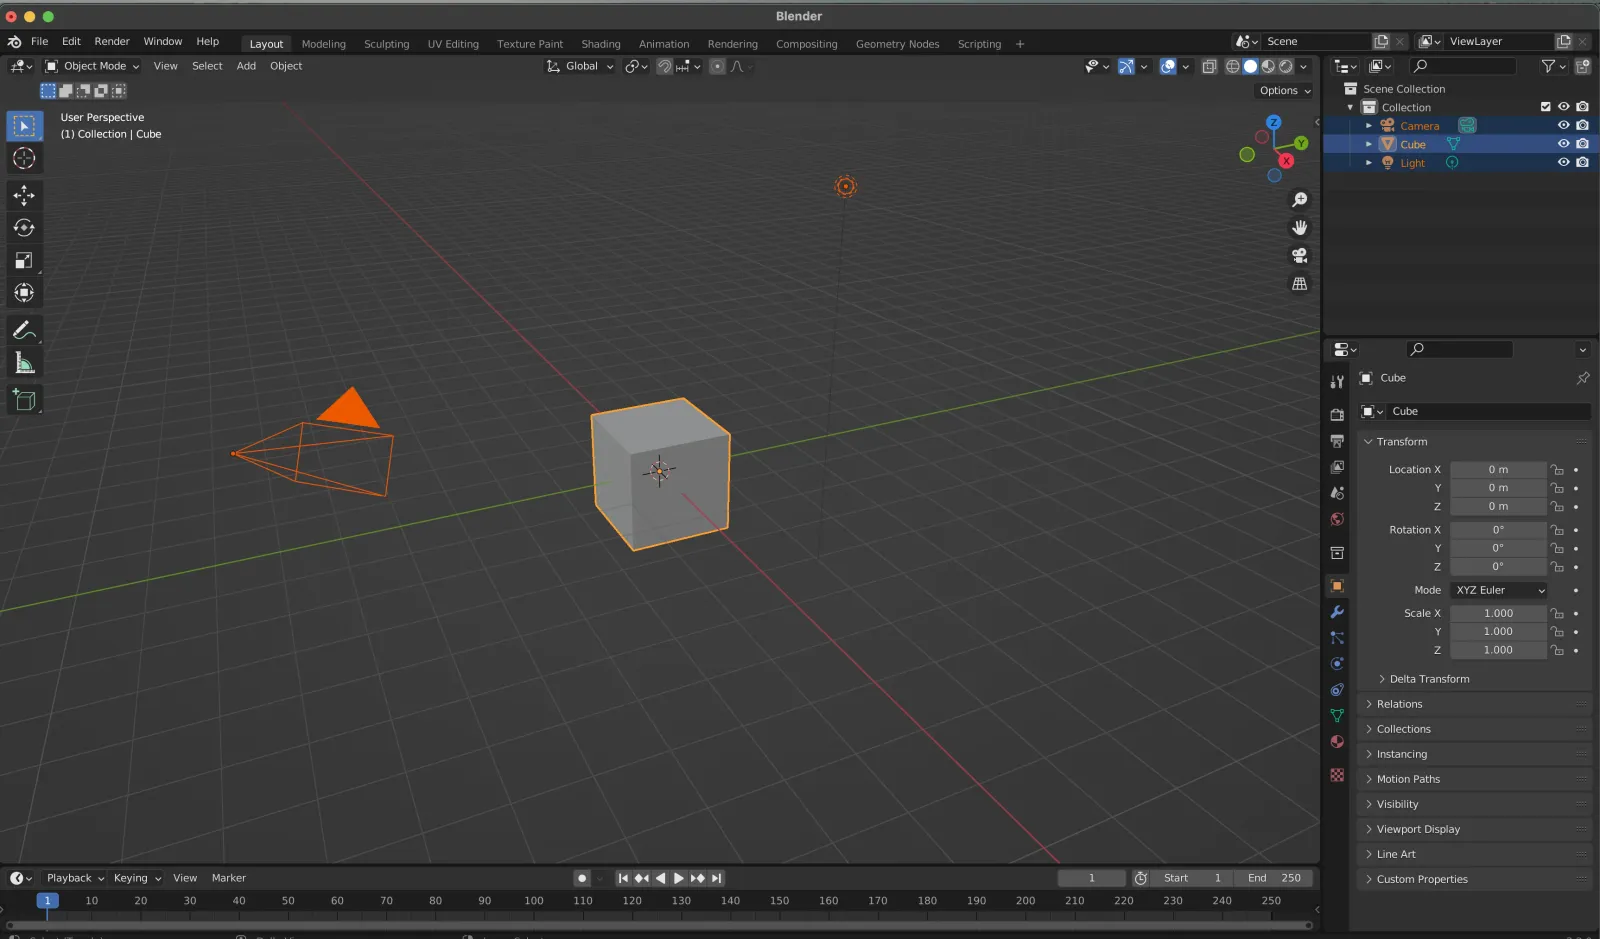
Import into Blender
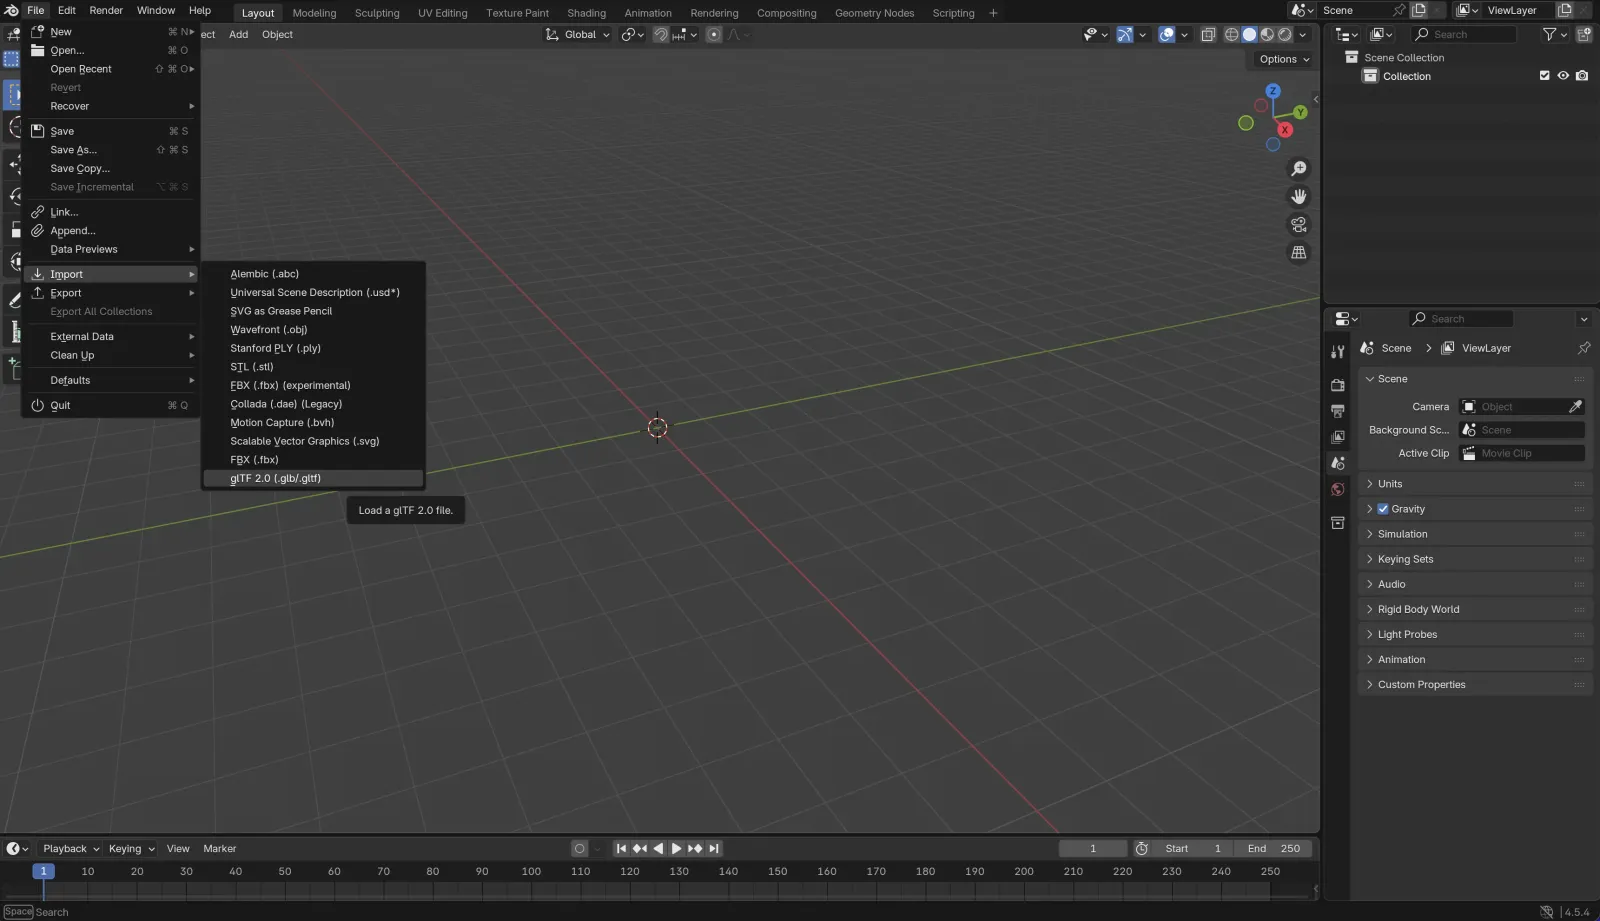
Clear the default scene, then File → Import and bring the scan in to clean it up.
- 3
Export GLB from Blender
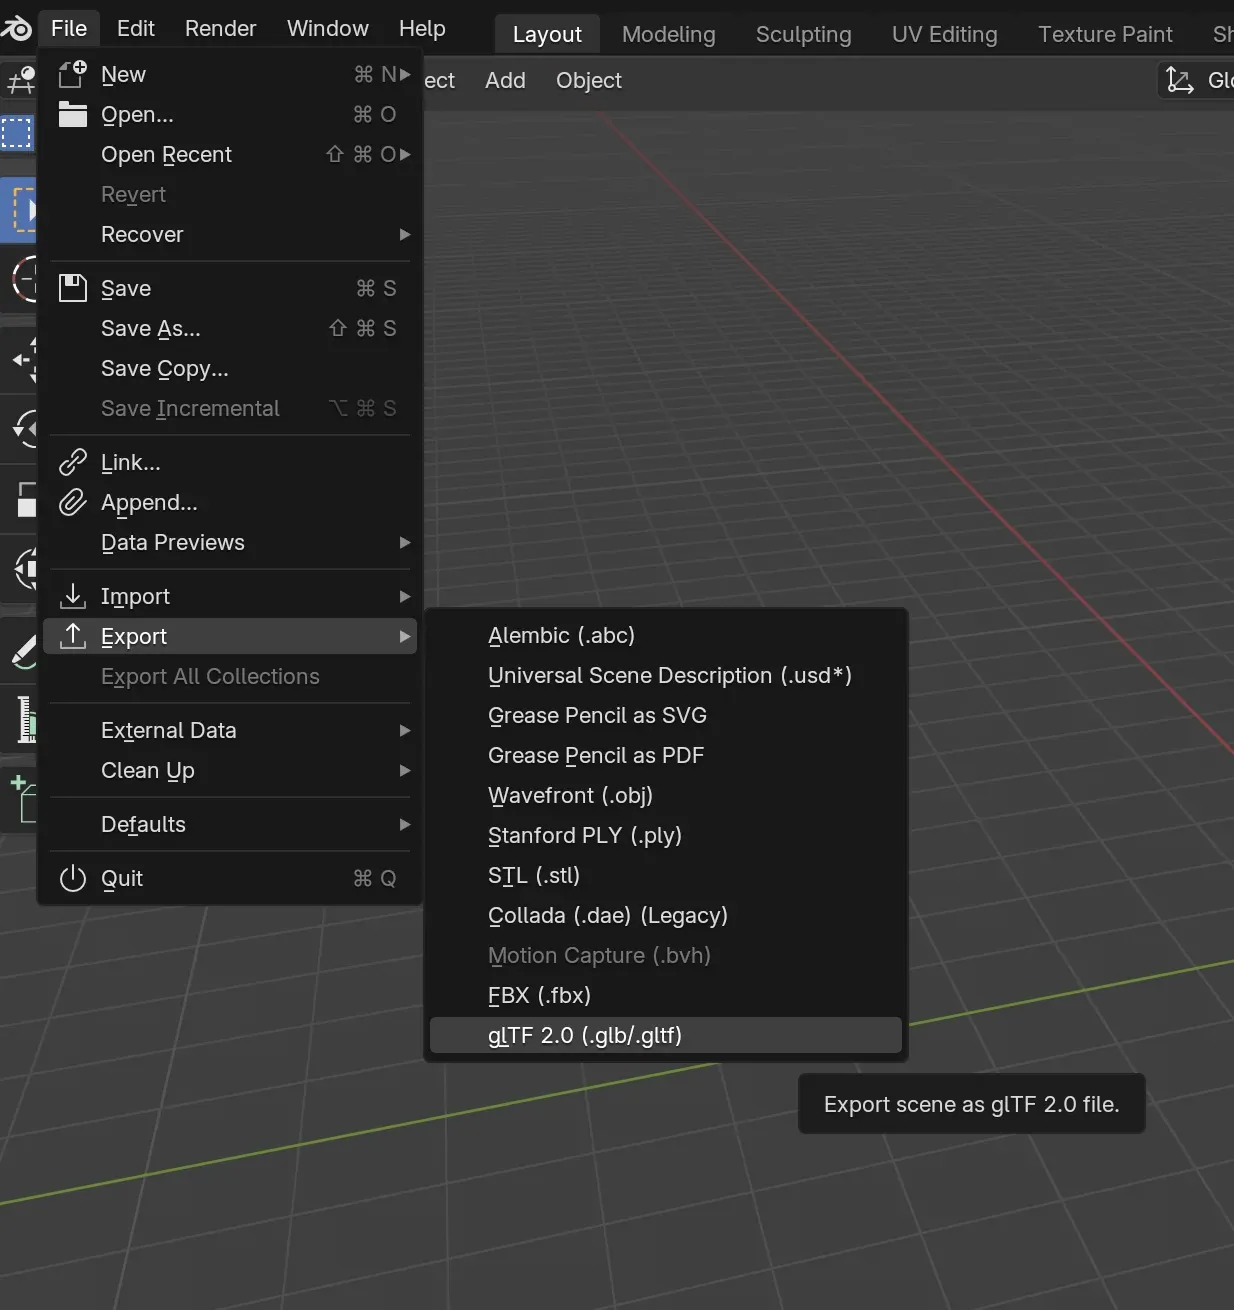
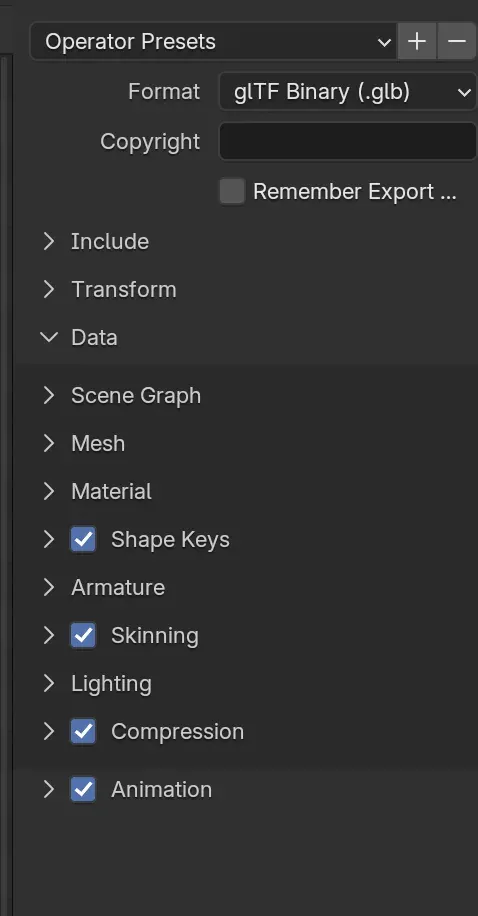
File → Export → glB. Set Path Mode: Copy + Embed Textures, Forward: Y forward, X up, and enable Apply Transform. Turn on Compression (Data section) to shrink the file.
- 4
Import into MEs
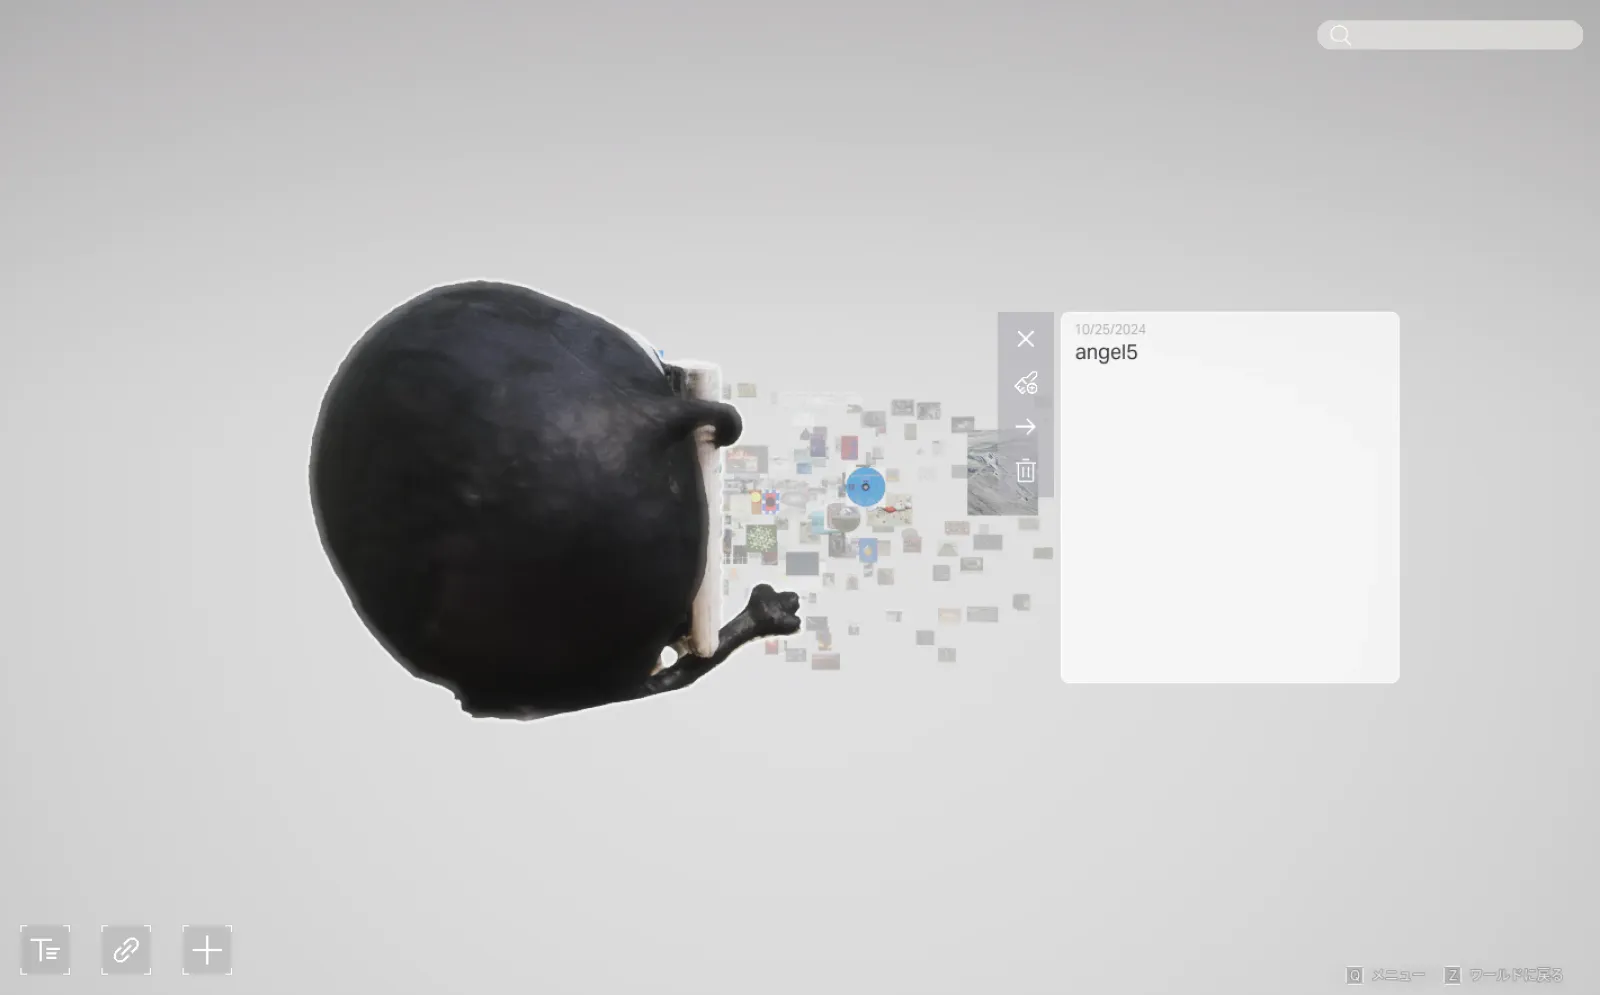
In MEs, press the + in MIND to import the GLB — it's now a patch you can place.
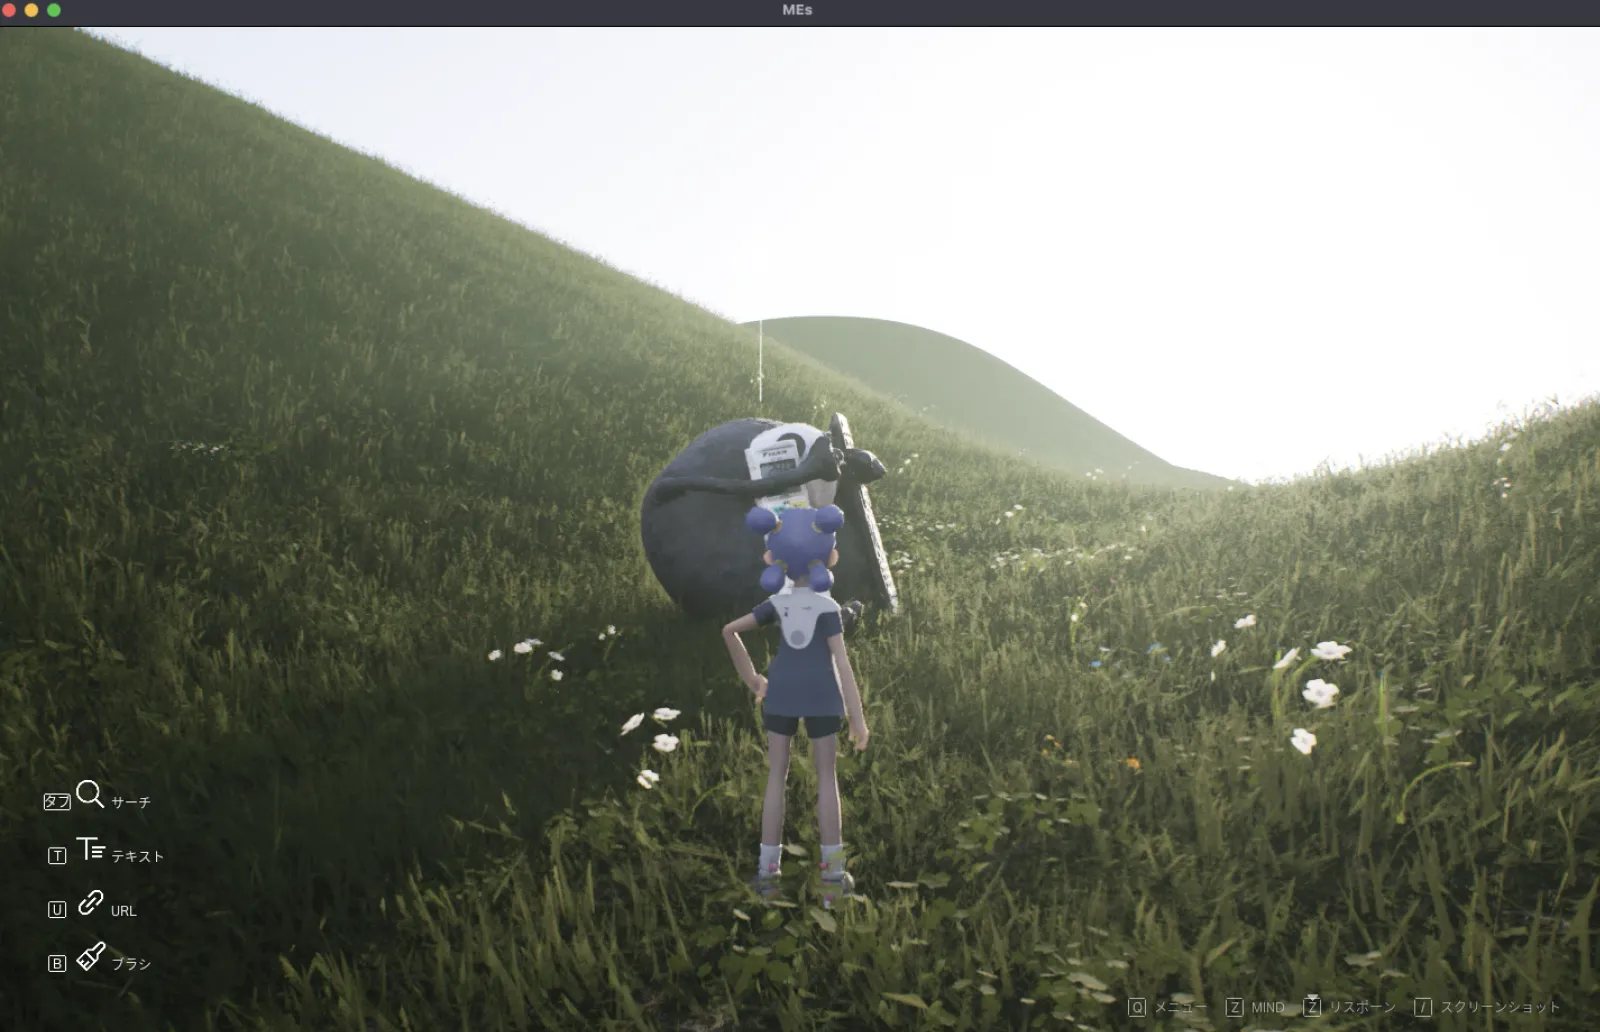
A quirk in the scanning tutorial: its headings say "GLTF/GLB," but the steps instruct selecting FBX from Polycam and importing via File → Import → FBX before the final GLB export. Either source format works — what matters is the GLB you bring into MEs.